1. Download Windows 7 RC 32-bit or 64-bit
2. Burn Windows 7 RC ISO on DVD or mount ISO as drive using ISO mounting tool
3. Use Windows Explorer and Browse to the DVD drive on your computer and click migsetup.exe in the Support\Migwiz directory.

4. The Windows Easy Transfer window opens.
5. Click next and Select An external hard disk or USB flash drive.
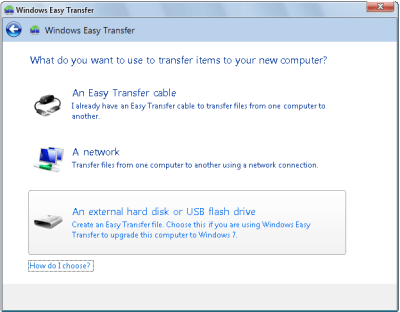
6. Click This is my old computer.
Windows Easy Transfer scans the computer.
7. Once Scanning is completed customize your profile and share items to add and remove folders and files you want to include.
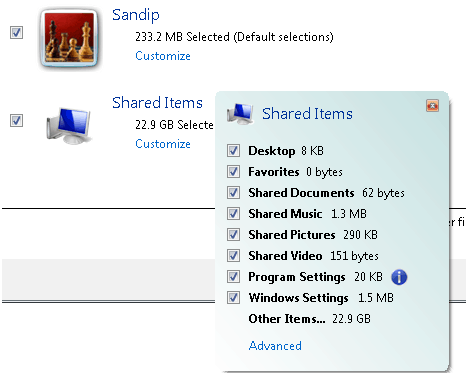
8. Click next and enter password
9. Click on Save and locate USB drive or Network location for saving Windows Easy Transfer files.
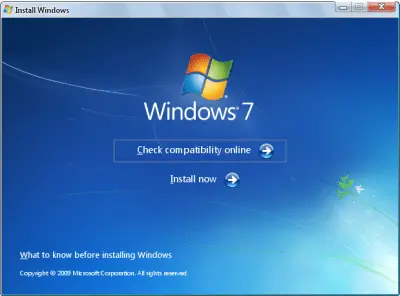
10. Start Windows 7 Setup by browsing to the root folder of the DVD in Windows Explorer, and then double clicking setup.exe.
11. Click Custom to perform an upgrade to your existing Windows installation.
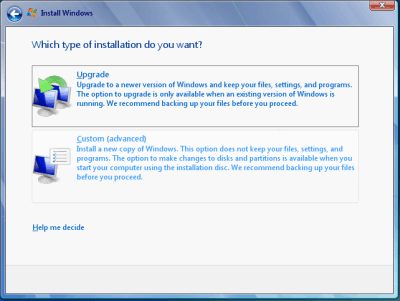
(When you perform a custom installation of Windows 7, files that were used in the earlier version of Windows are stored in a Windows.old folder. This folder can be removed once instillation is complete to recover space)
12. Select partition of Windows XP and click on Next and proceed without further interaction.
13. Once your Windows 7 Installation is complete. Boot into your Windows 7.
14. Click Start, click All Programs, click Accessories, click System Tools, and then click Windows Easy Transfer.
15. The Windows Easy Transfer window opens.
16. Click An external hard disk or USB flash drive.
17. Click This is my new computer.
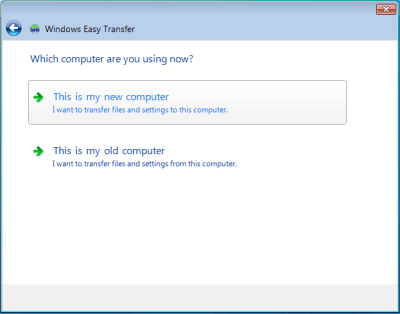
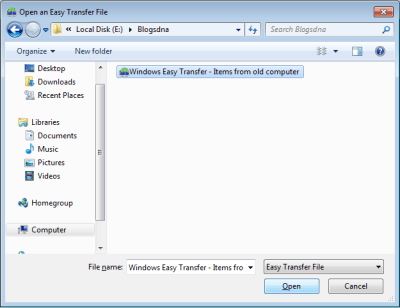
18. Click Yes, open the file. Browse to the location where the Easy Transfer file was saved. Click the file name, and then click Open
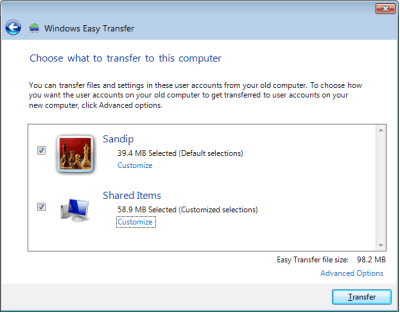
19. Click Transfer to transfer all files and settings. You can also determine which files should be migrated by selecting only the user profiles you want to transfer, or by clicking Customize.
20. Click Close after Windows Easy Transfer has completed moving your files.
That’s it We have successfully upgraded Windows XP to Windows 7
Few Points to Note:
1. Above guide will only help you in keeping Windows XP Profiles and Settings however you will need to reinstall all your programs in Windows 7
2. You can clean up all files of previous Windows installations using Disk cleanup


0 comments:
Post a Comment